Microsoft Dynamics Custom Object
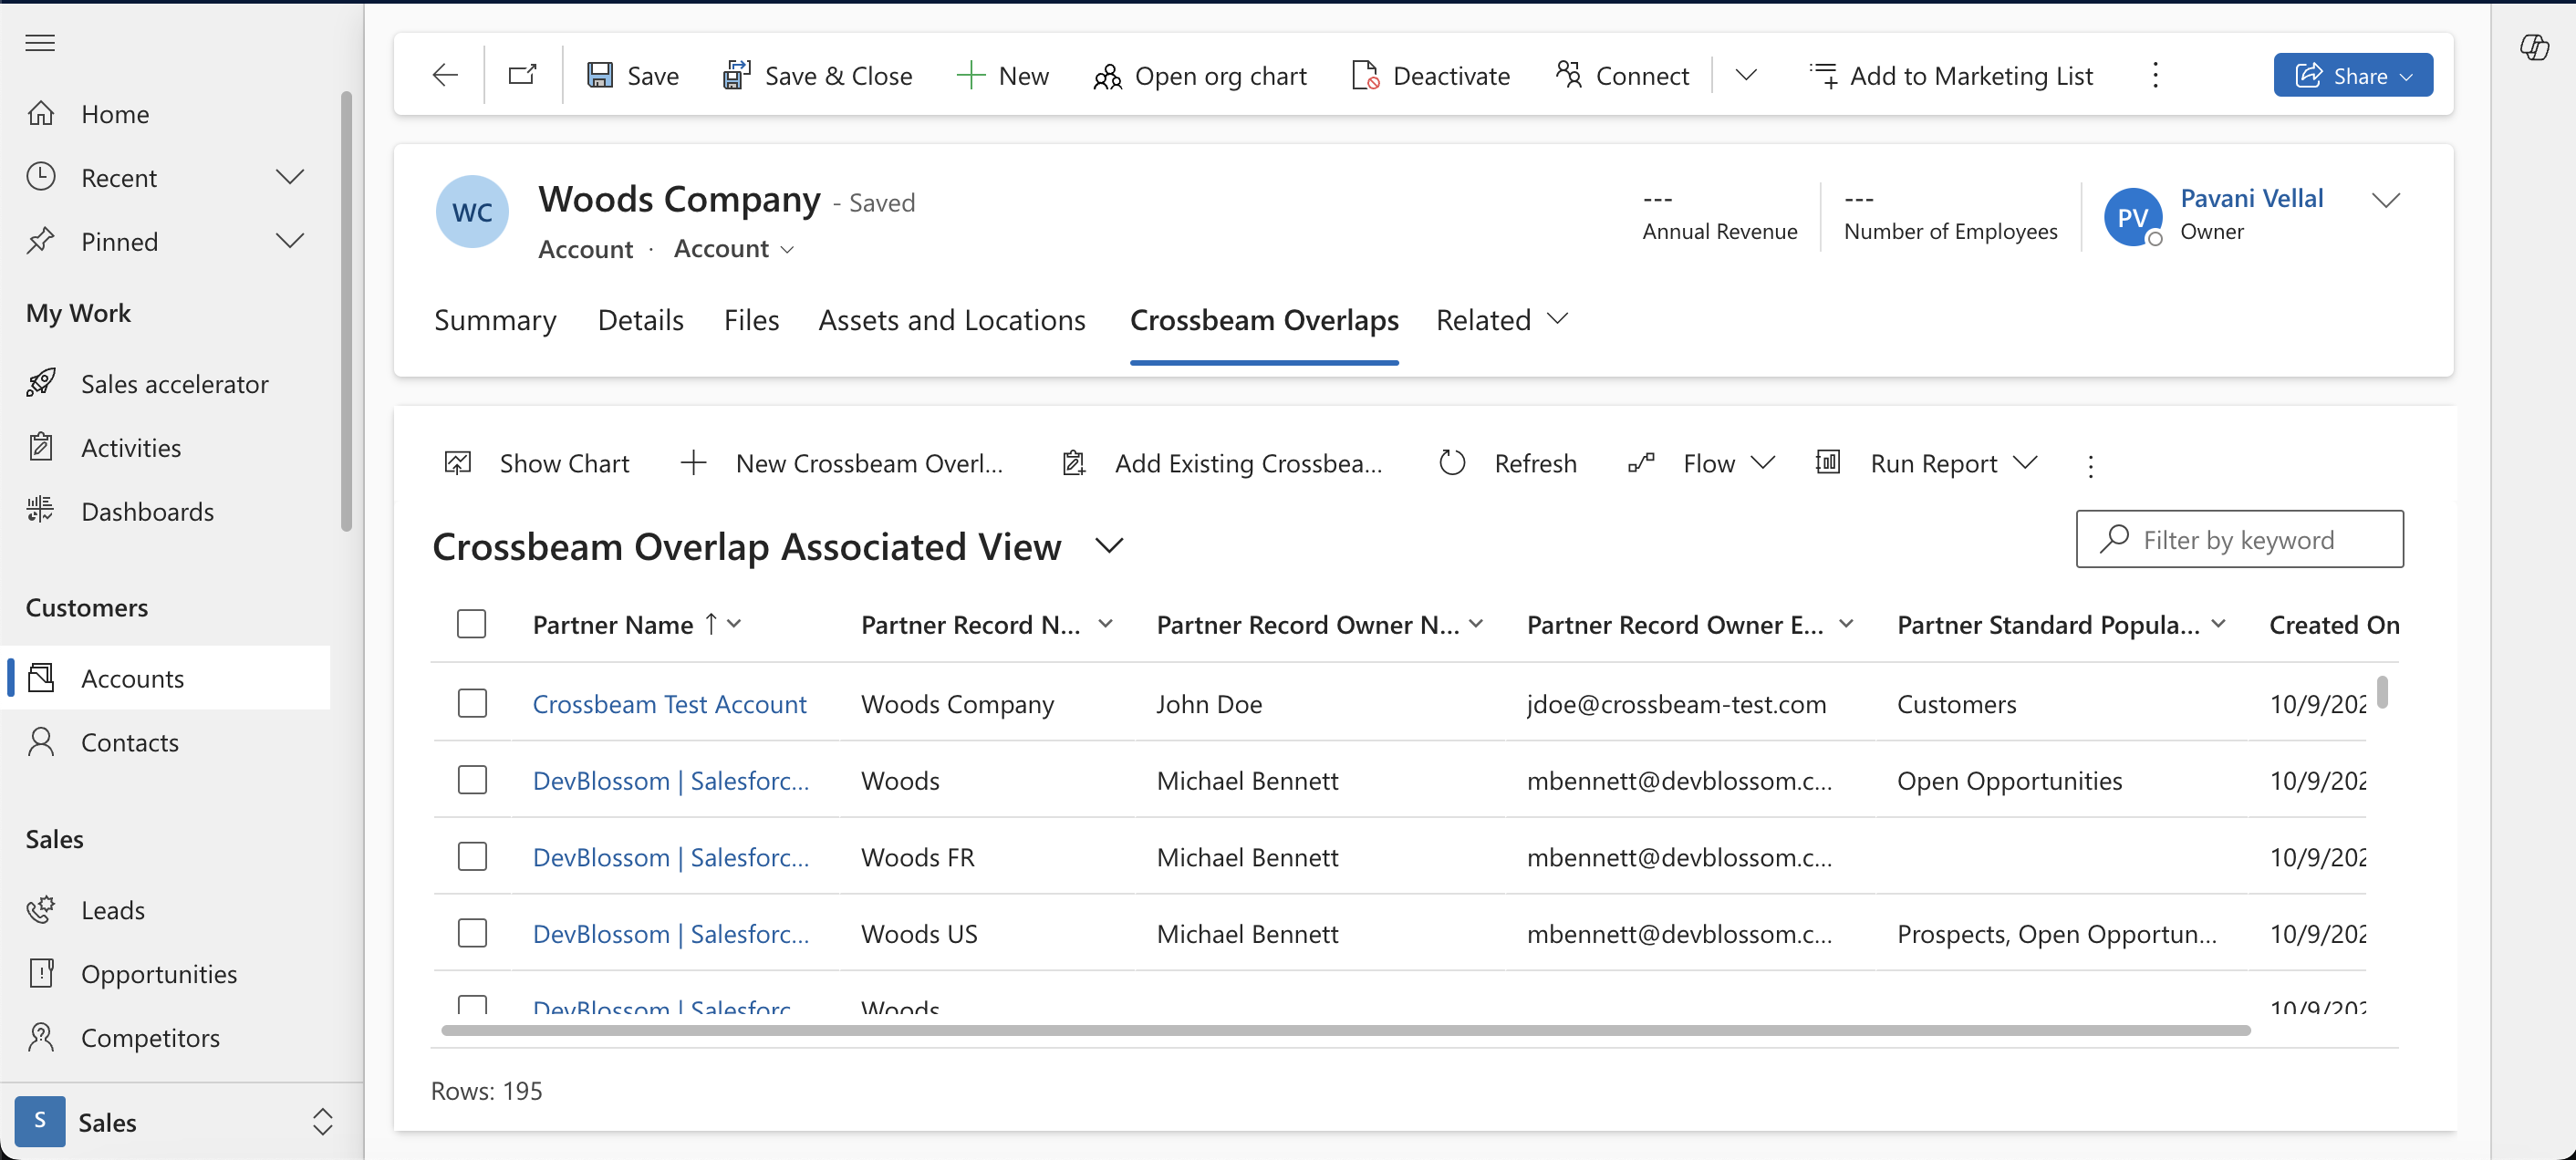
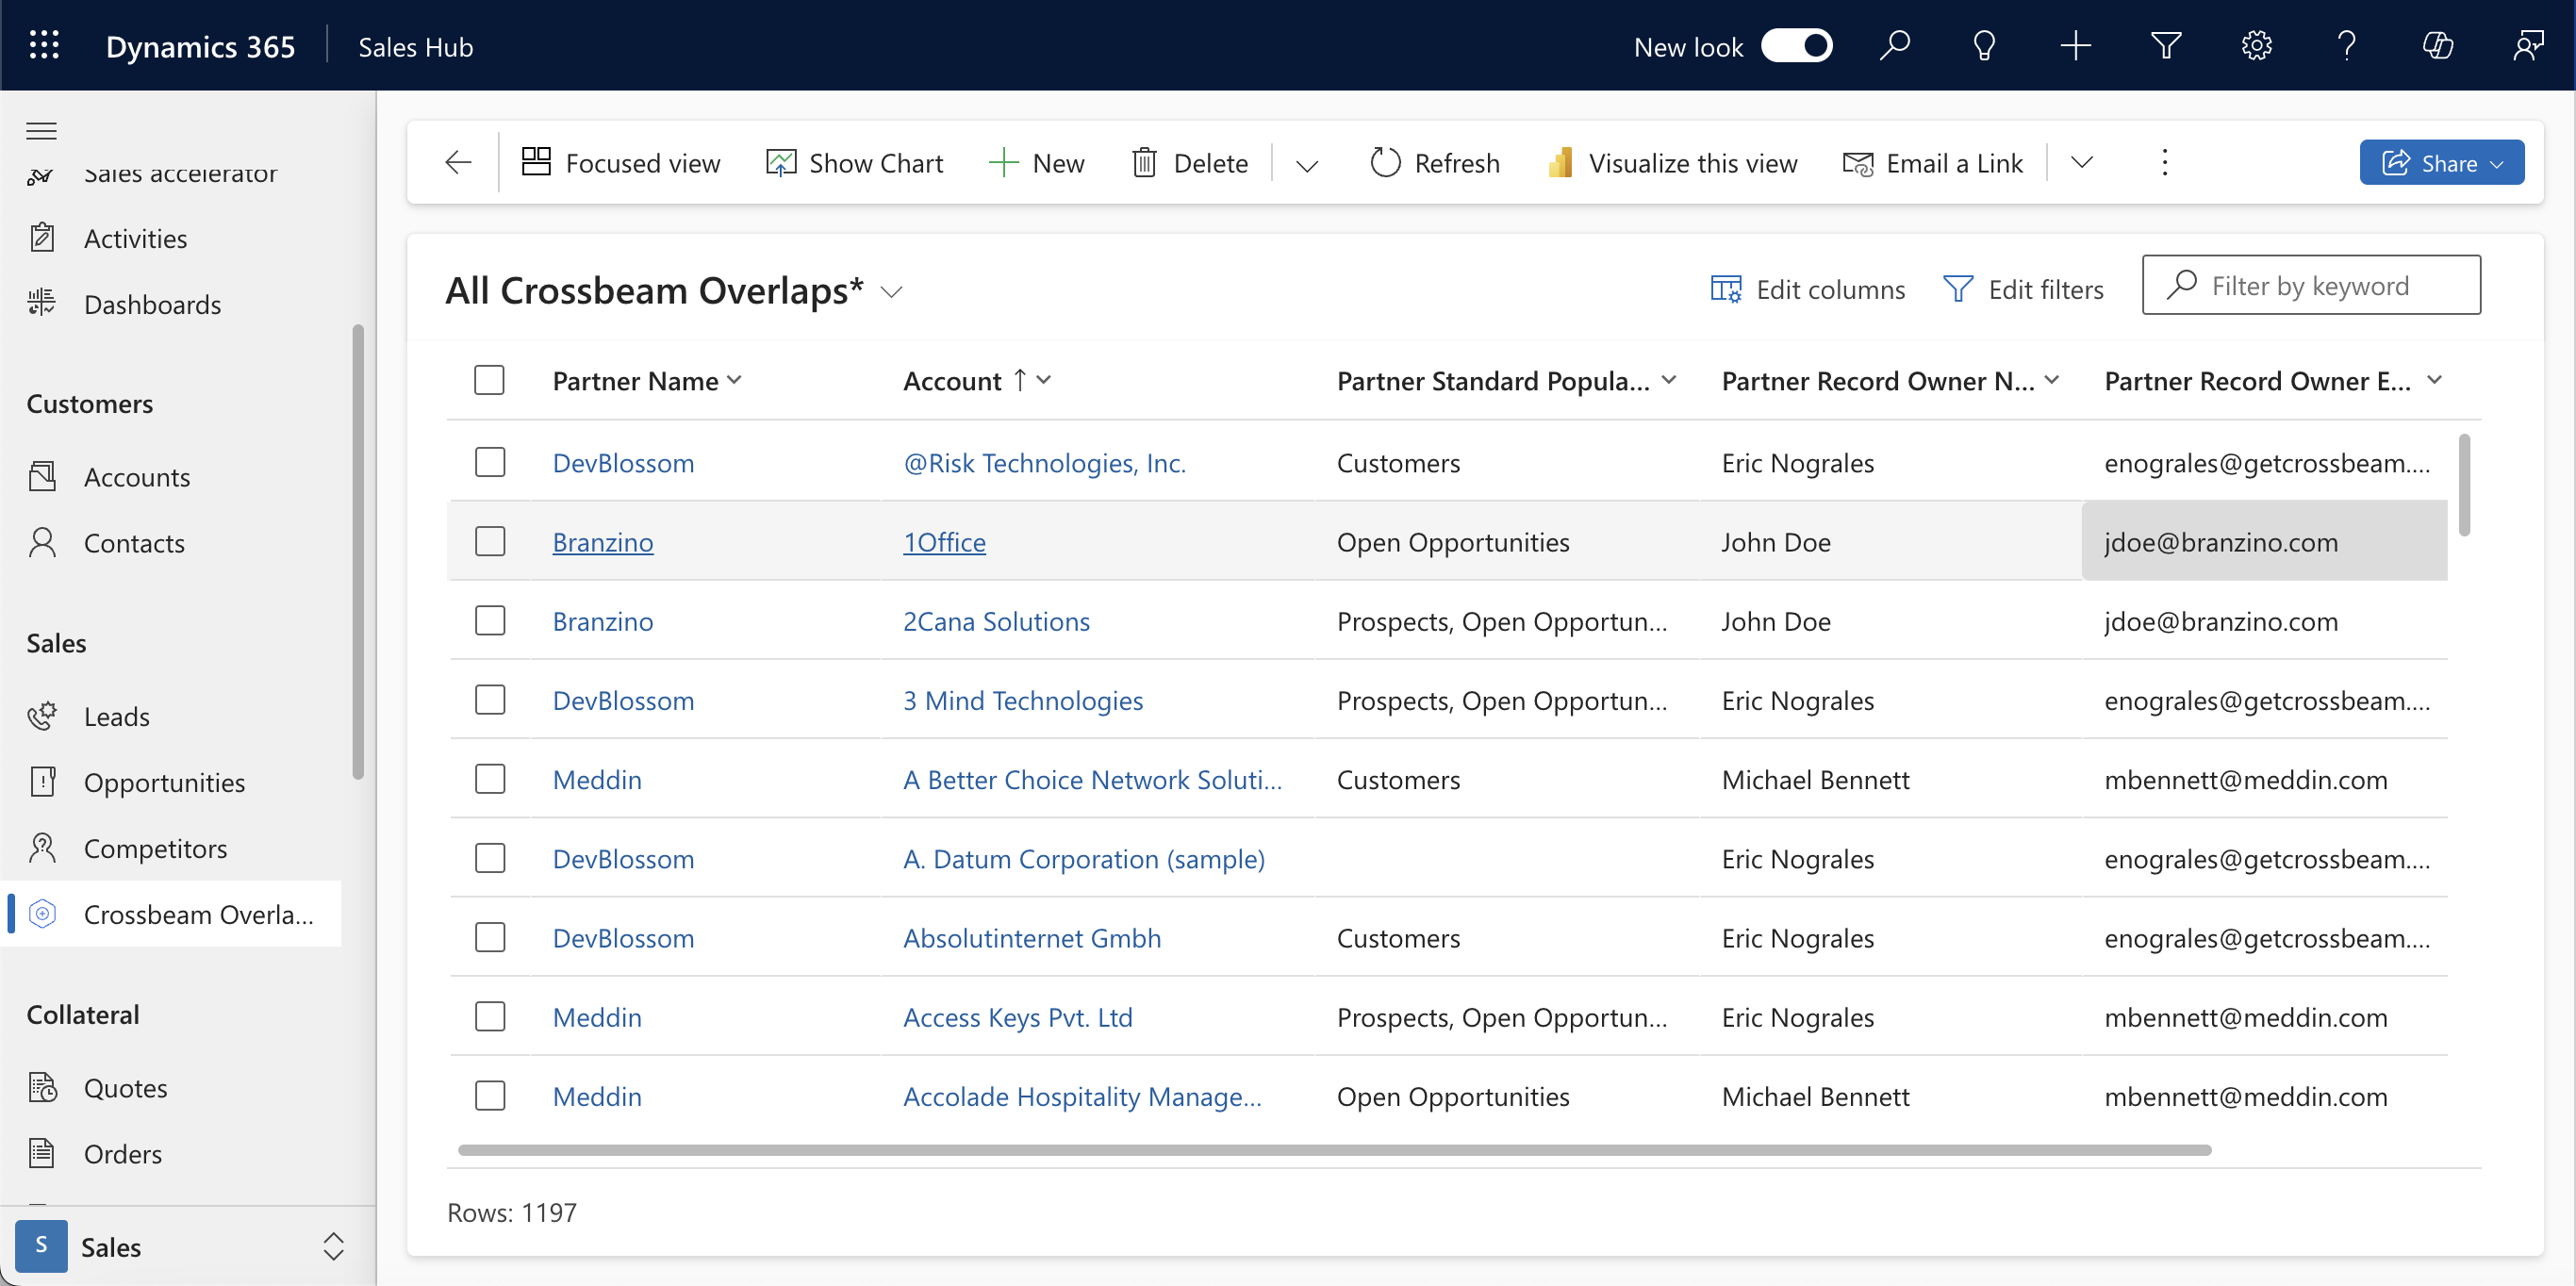
Integrate Microsoft Dynamics with Crossbeam to create unique reports and dashboards using your ecosystem data.
Description
Key Benefits
- Build custom dashboards and reports using Crossbeam data to harness valuable insights about your ecosystem.
- Empower sales teams with access to these dashboards and reports, enabling them to prioritize accounts and close deals more efficiently.
- Show the potential of your ecosystem to stakeholders and drive strategic decision-making.
Gallery & Videos
Setup Instructions
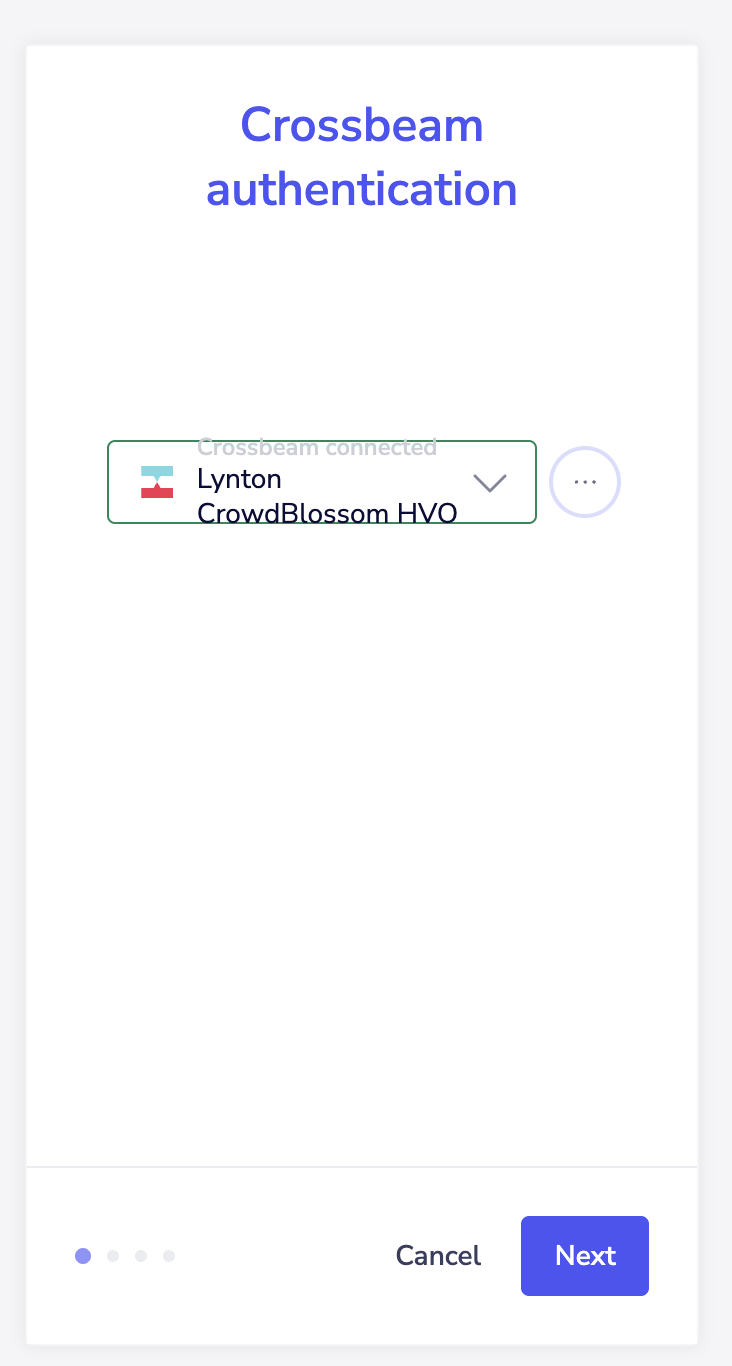
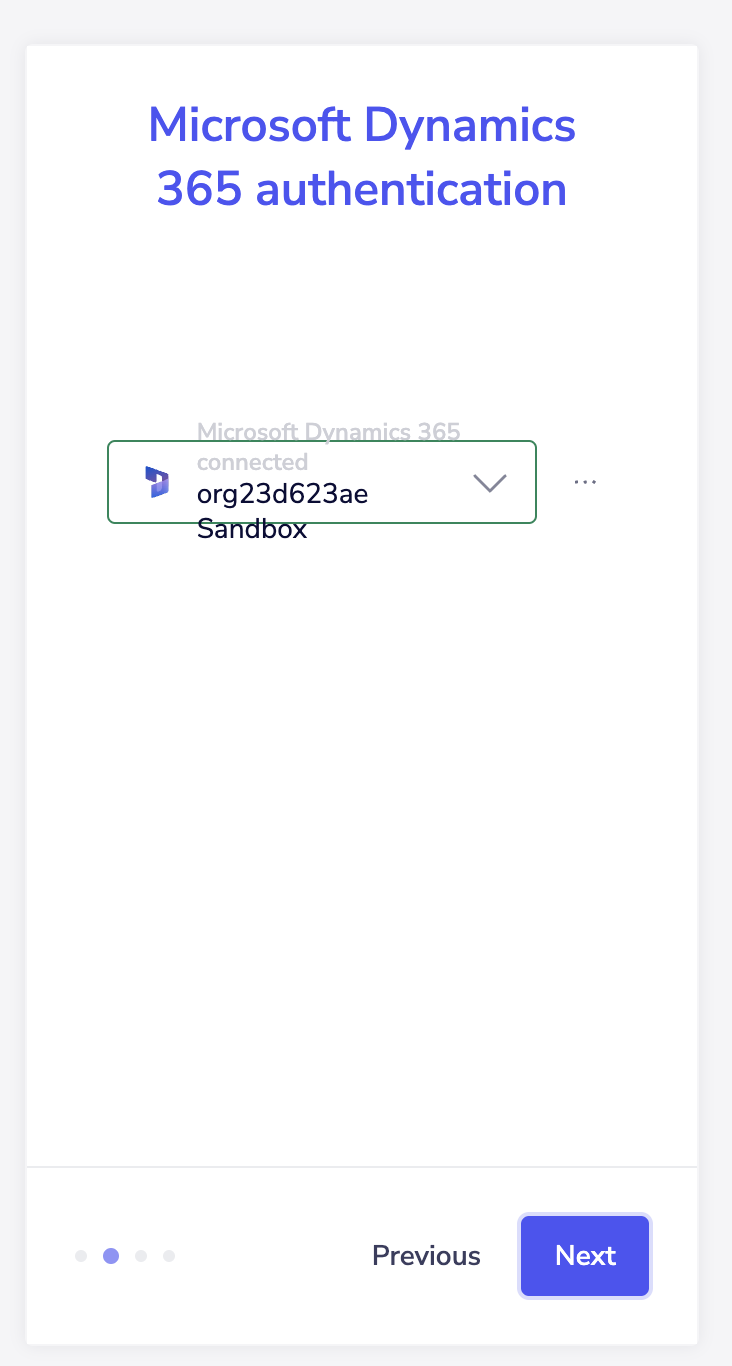
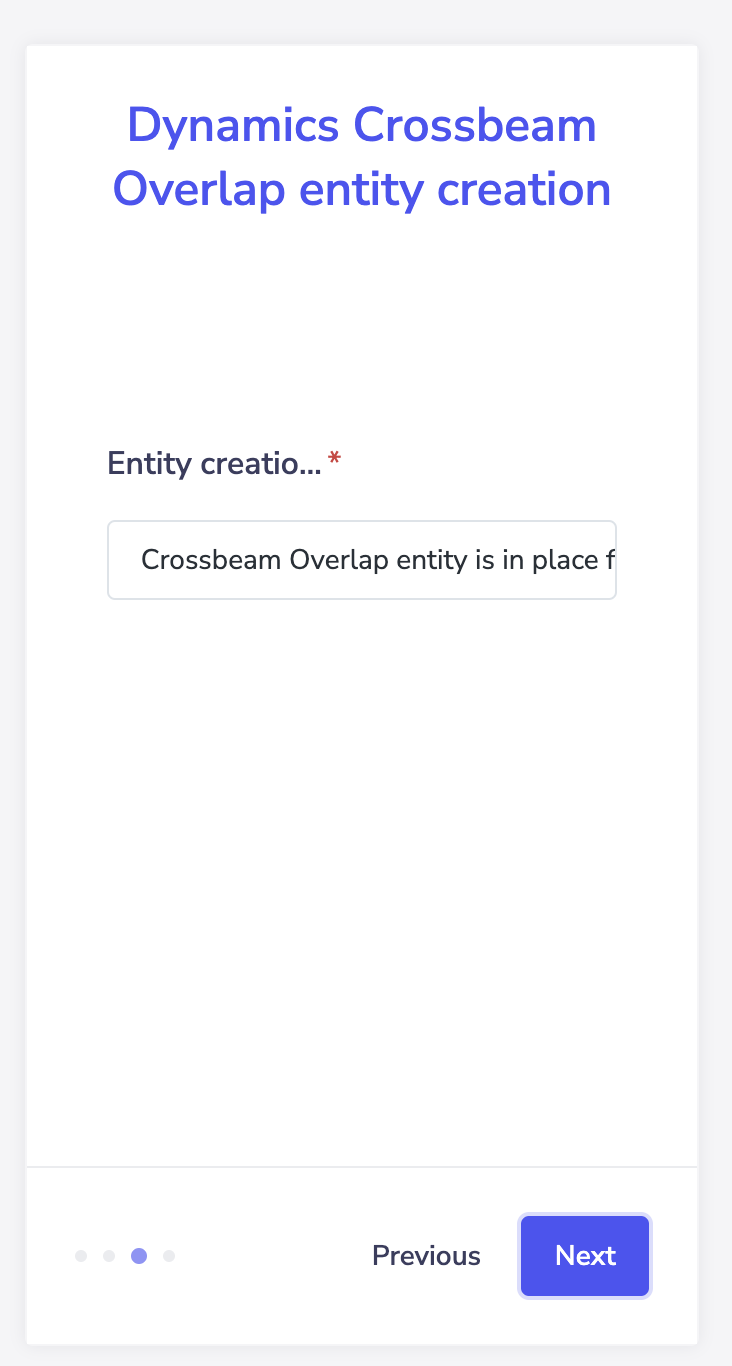
To leverage the Custom Object: Your system admin must authenticate the connection to begin routing overlaps in the Crossbeam Overlaps Custom Object in Microsoft Dynamics. Once your accounts are connected, go into your Microsoft Dynamics integration settings and select which populations you'd like to carry over into Microsoft Dynamics. Upon configuring your populations, save changes, and the following fields will automatically be passed into the custom object in Microsoft Dynamics:
Account ID
Crossbeam EID
Lead ID
Partner
Partner AE Name
Partner AE Email
Partner AE Phone
Partner Population
Population (Name of population)
From here, use the Crossbeam Overlaps Custom Object to trigger new workflows, run reports, build reporting dashboards, and more.
Please note, customers must be using Microsoft Dynamics as a data source to leverage this functionality. Also, customers must have Dynamics 365 Sales Premium or Dynamics 365 Sales Enterprise or Dynamics 365 Sales Professional.


