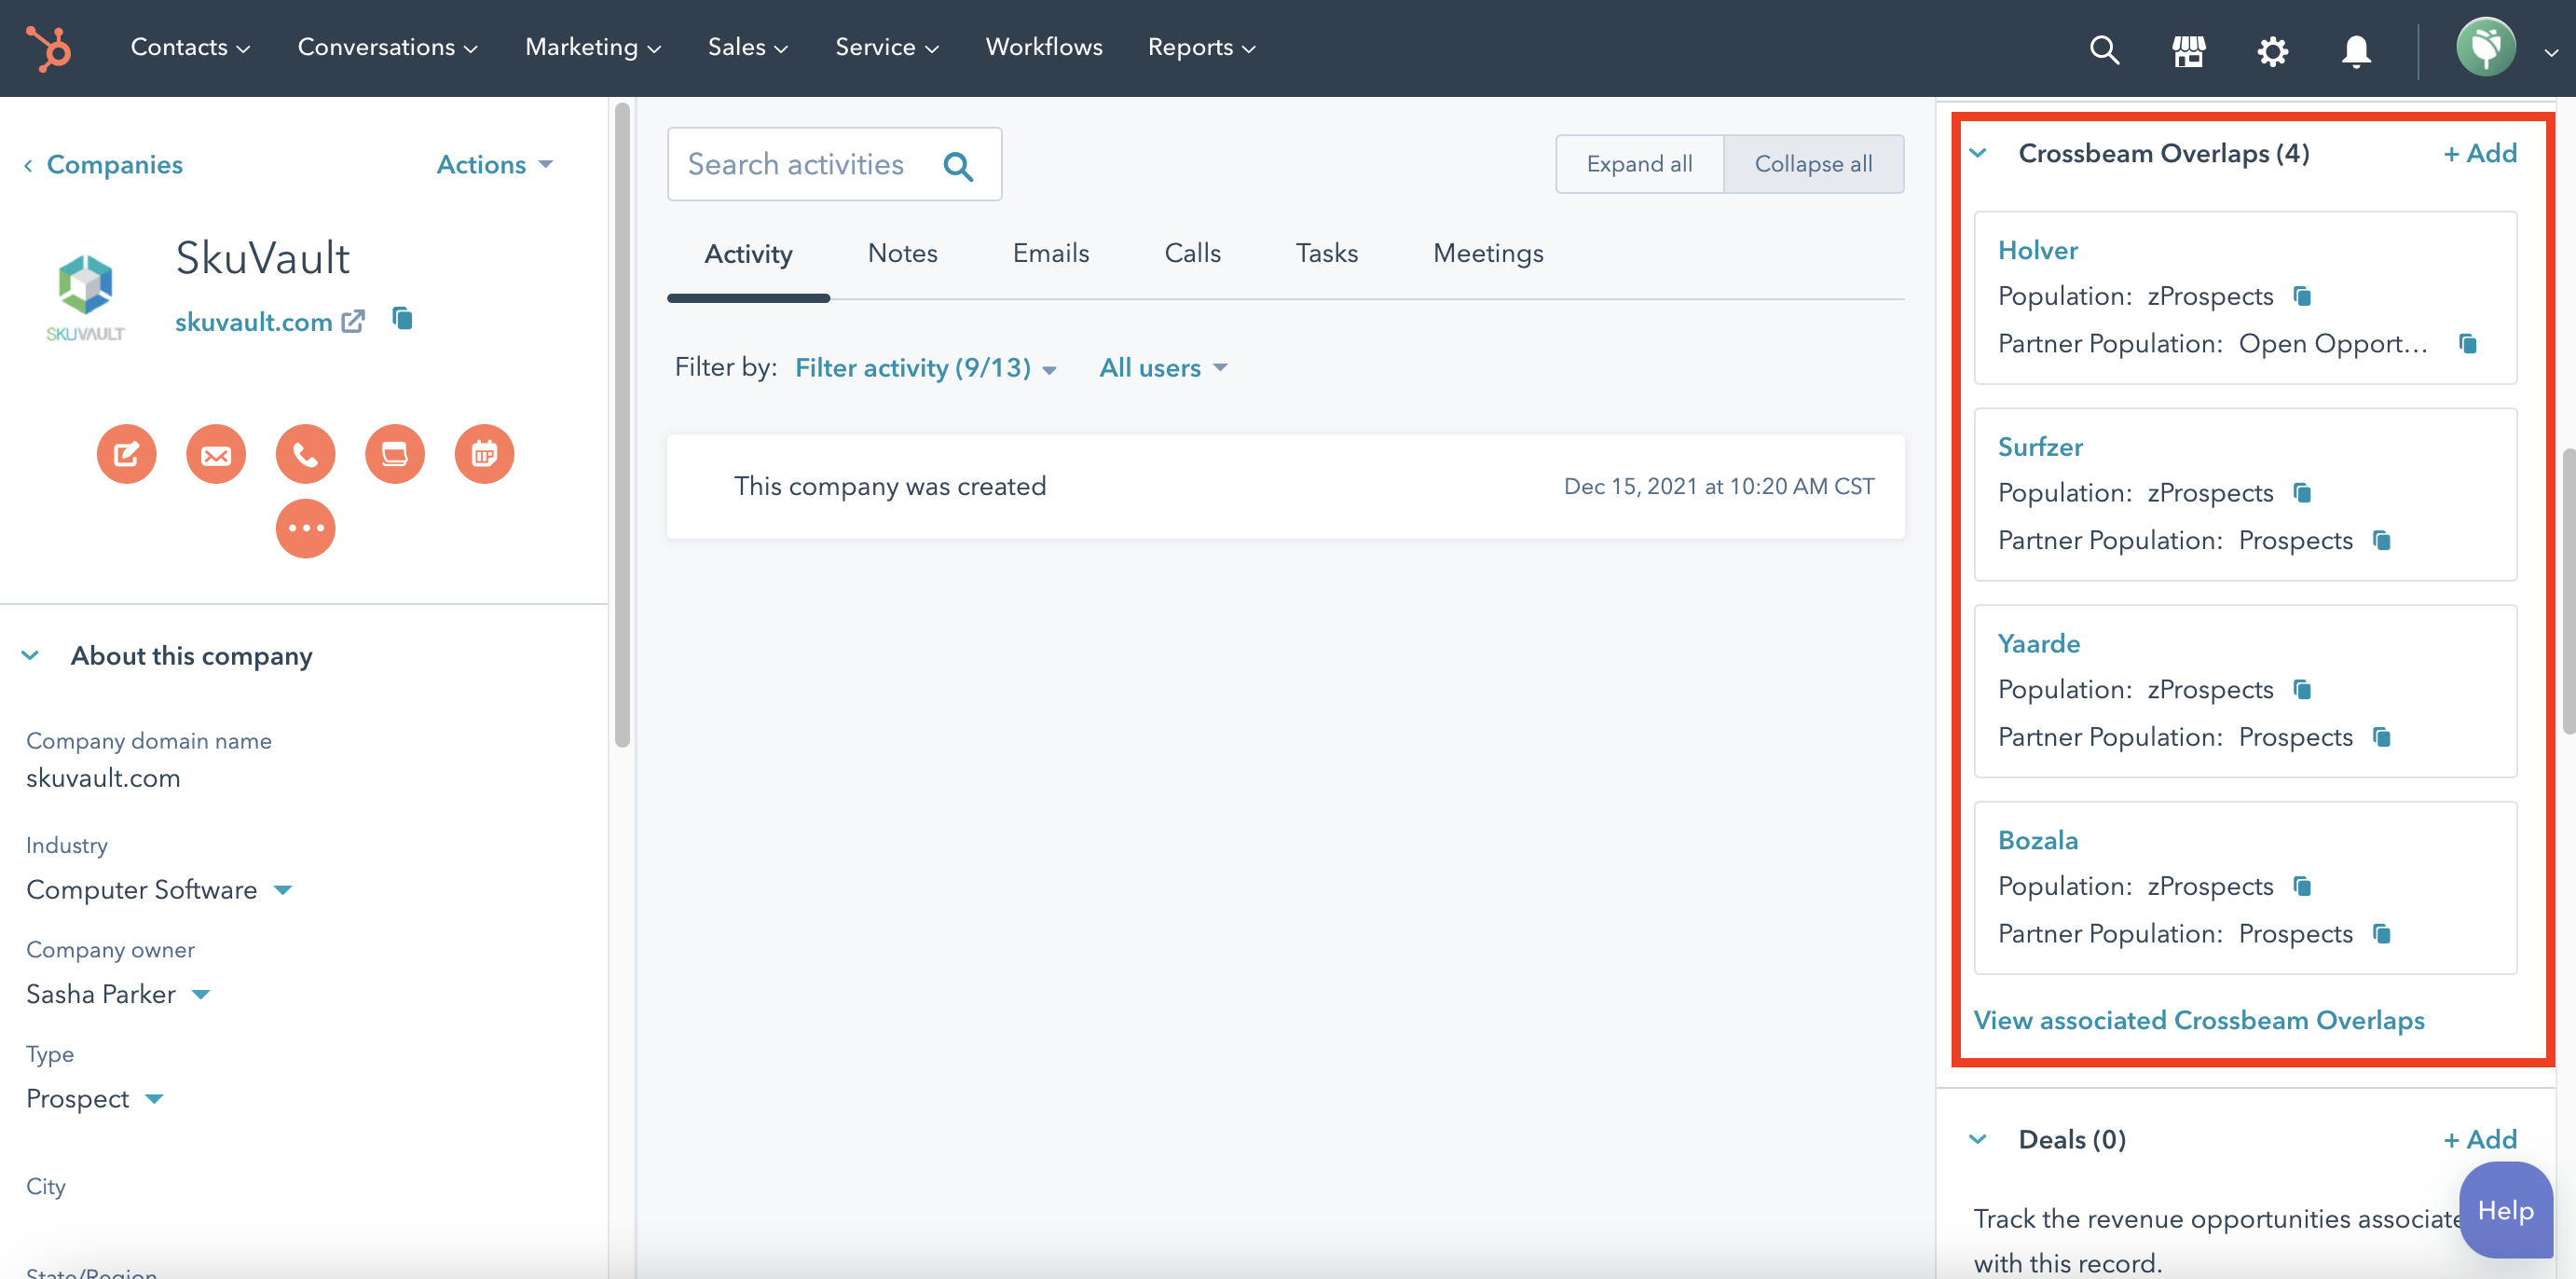
HubSpot Custom Object
Send Crossbeam partner data to HubSpot to target accounts in co-marketing campaigns.
Description
-
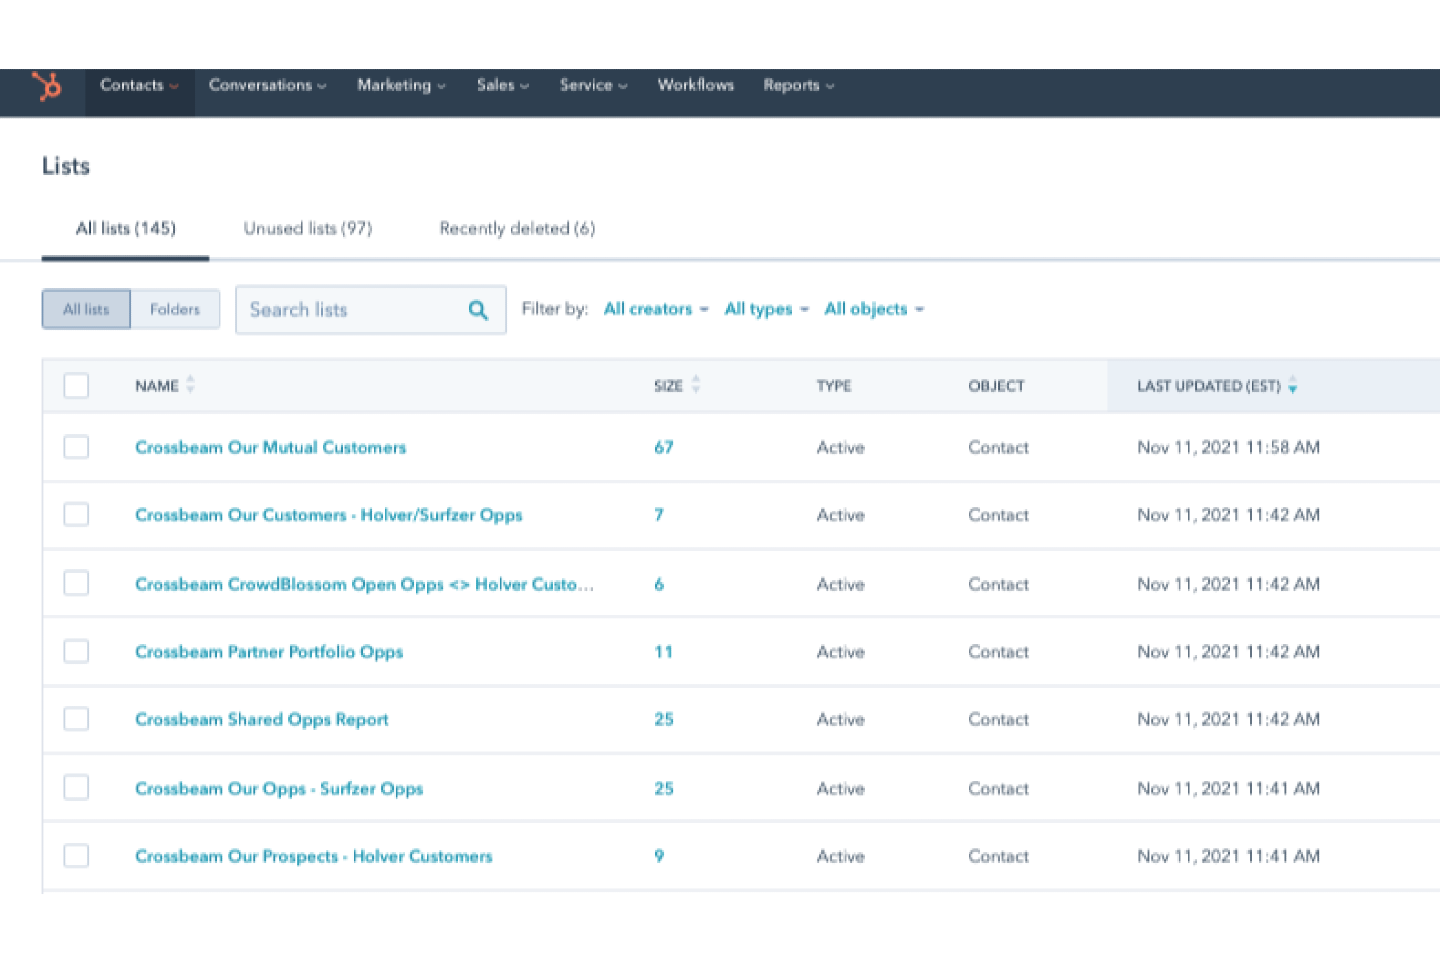
Send Crossbeam data into HubSpot contact lists to target mutual companies in joint marketing campaigns. Available for paid Crossbeam users who have a HubSpot Marketing Hub - Professional license.
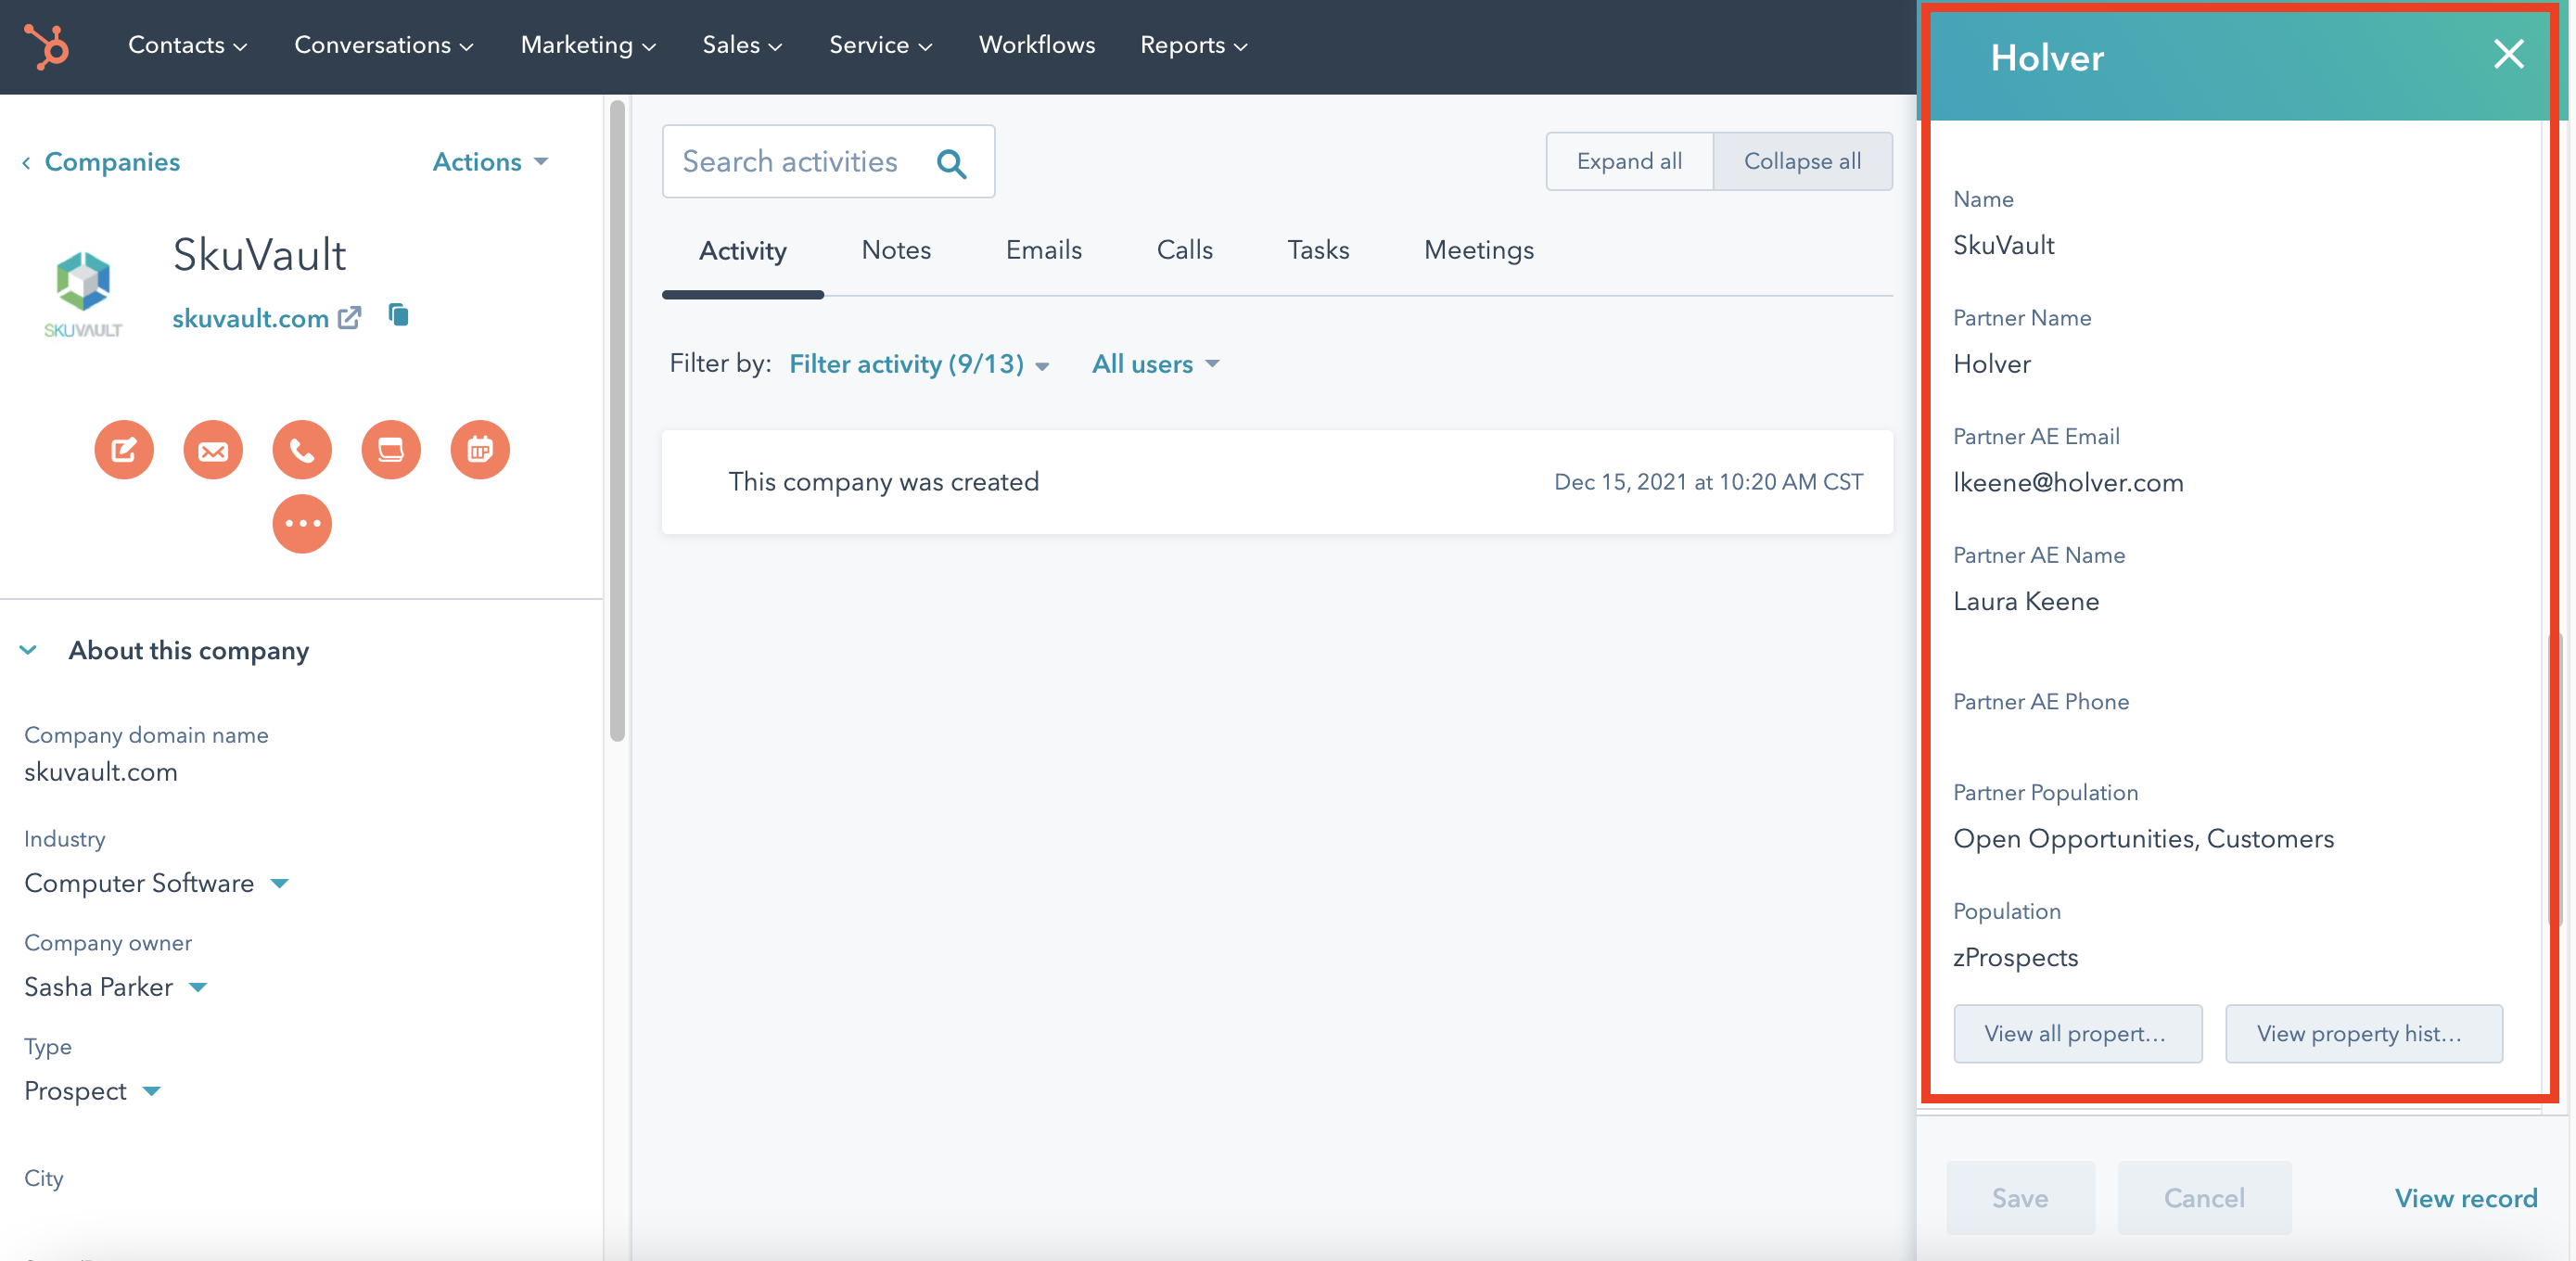
- Send Crossbeam data directly to the HubSpot custom object, pushing "is a customer of" and is an open opportunity for" fields, unlocking advanced reporting capabilities, sales follow-up tasks and streamlined workflows on partner campaign performance and more. Available for paid Crossbeam users who have a HubSpot Sales Hub - Enterprise license.
Key Benefits
-
Personalized Targeting. Warm up new deals, introduce joint integrations, or co-market partner webinar by creating highly targeted lists in HubSpot using Crossbeam overlap data.
-
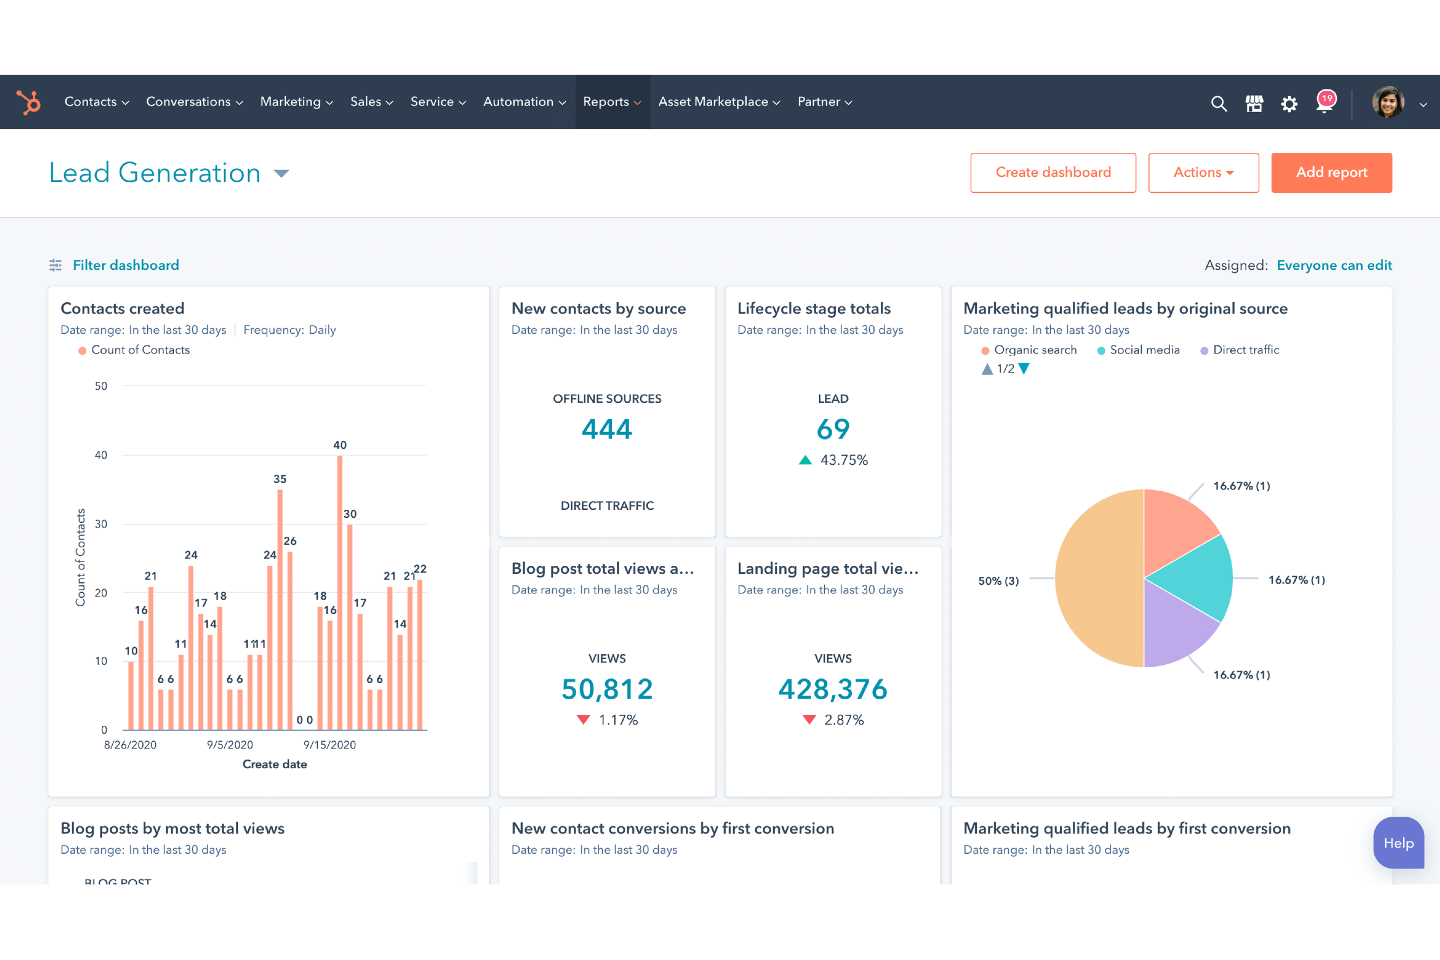
Campaign Reporting. Build performance dashboards and measure partner impact by pushing Crossbeam overlap data into the Crossbeam Overlaps Custom Object in HubSpot.
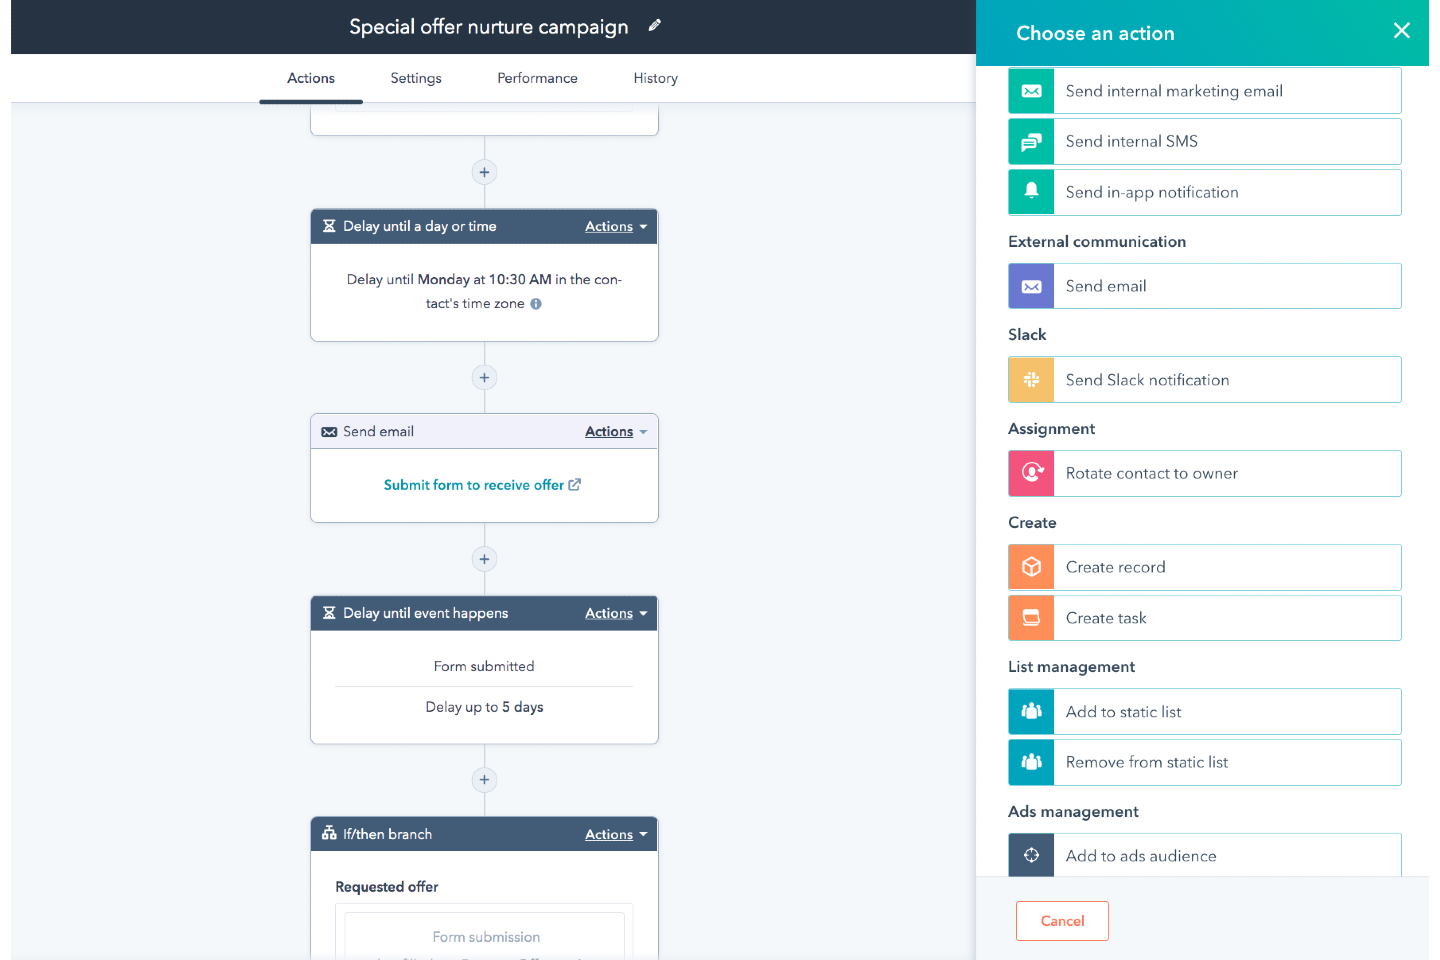
- Marketing Automation. Make follow-up tasks, email drips, and more a breeze by using overlaps to trigger associated partner workflows in HubSpot.
How it Works
Gallery & Videos
Setup Instructions
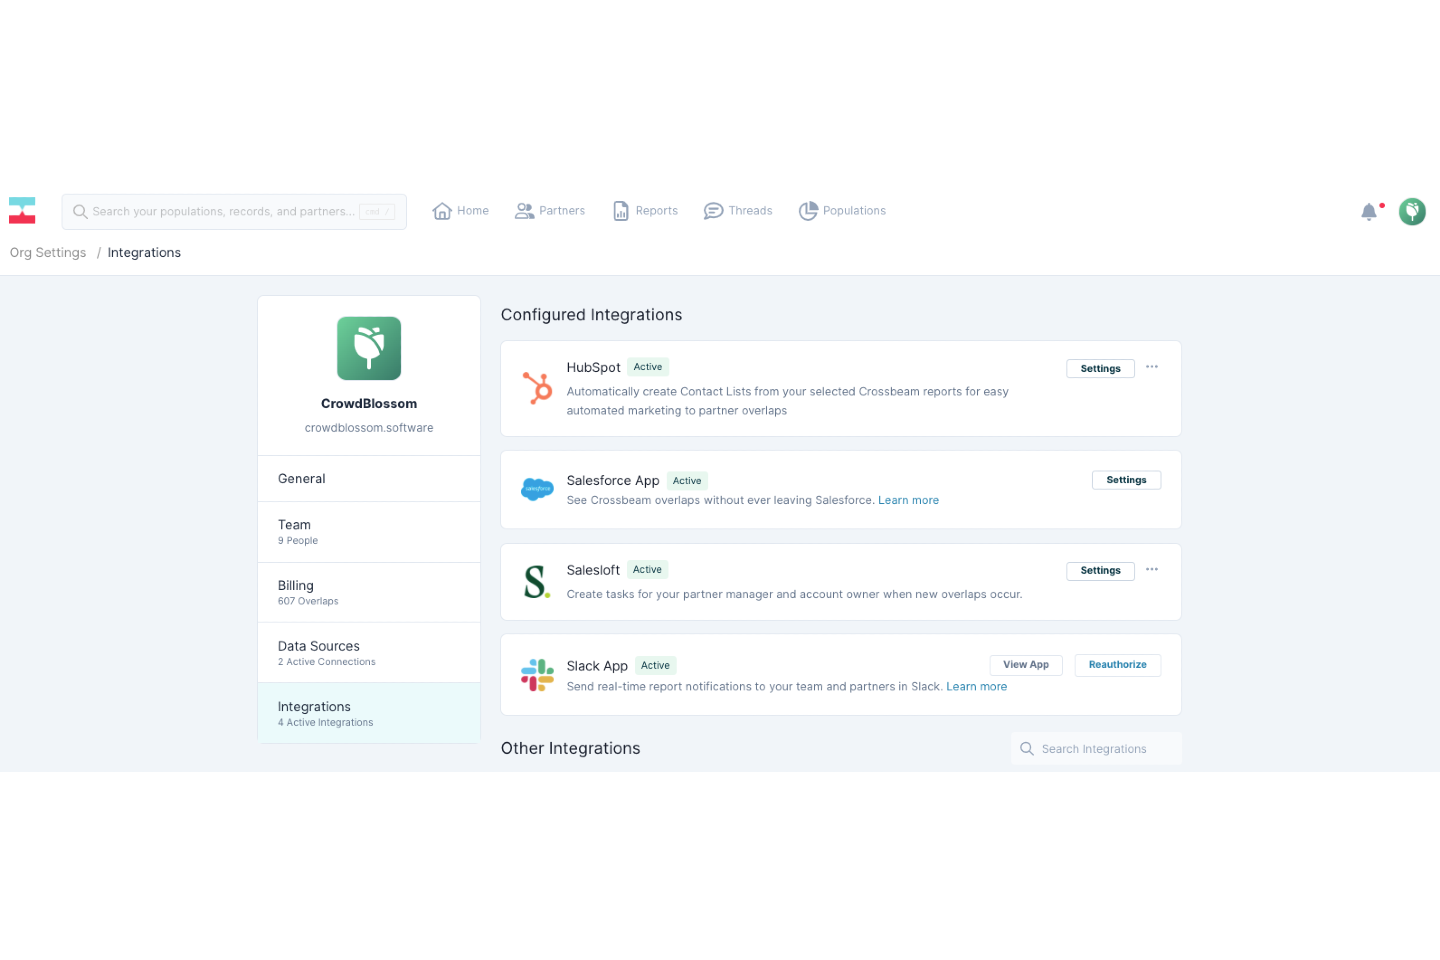
2. Connect Crossbeam and HubSpot by clicking the install button within the HubSpot integration listing.
3. Your system admin will need to authenticate the connection.
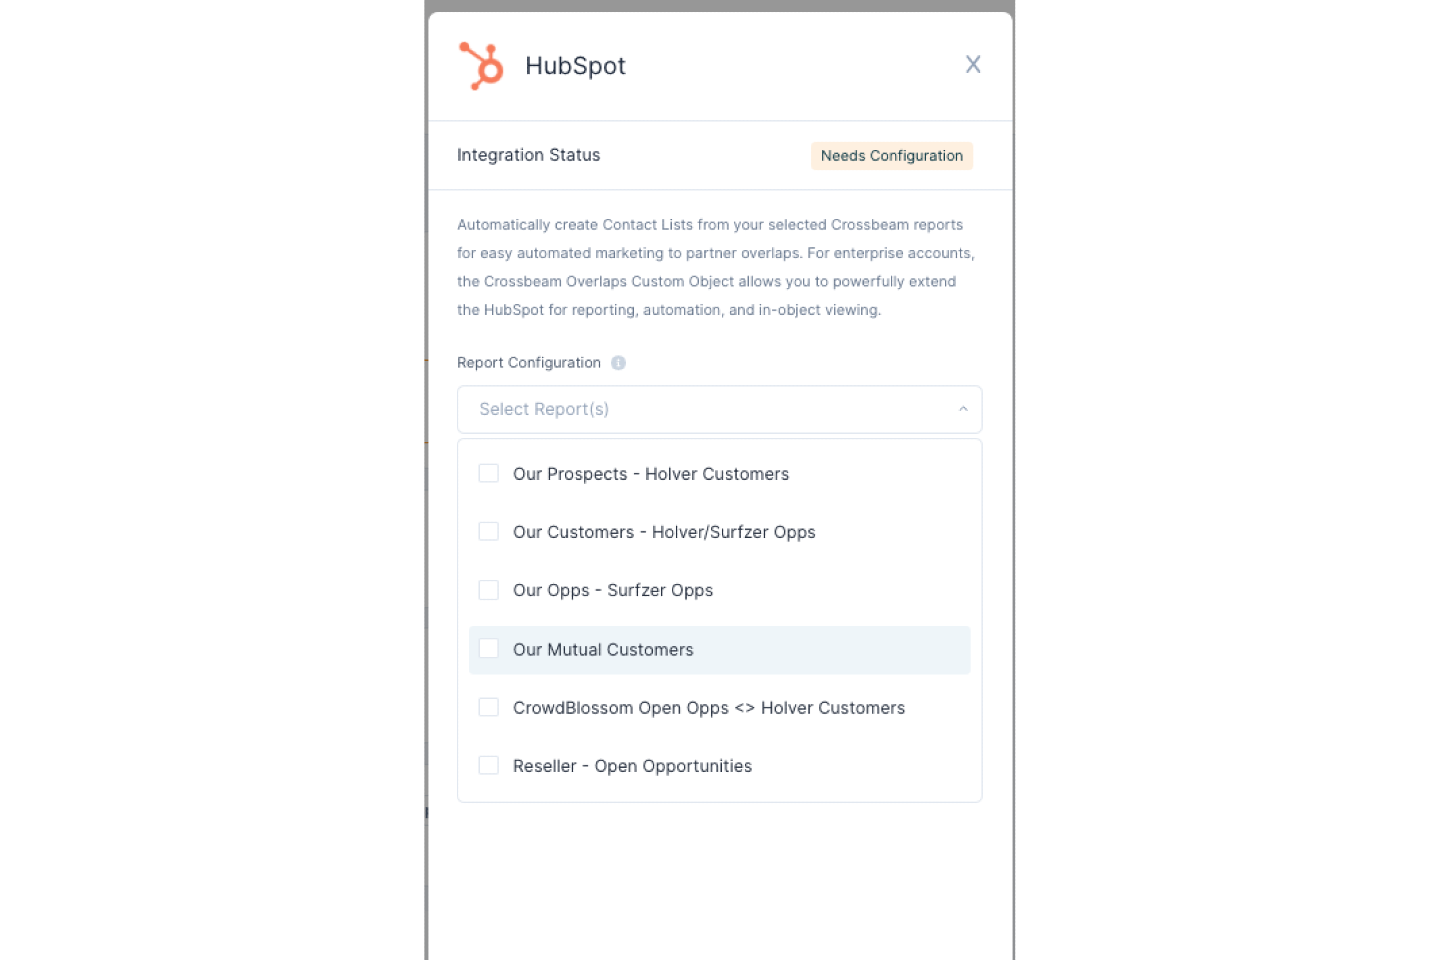
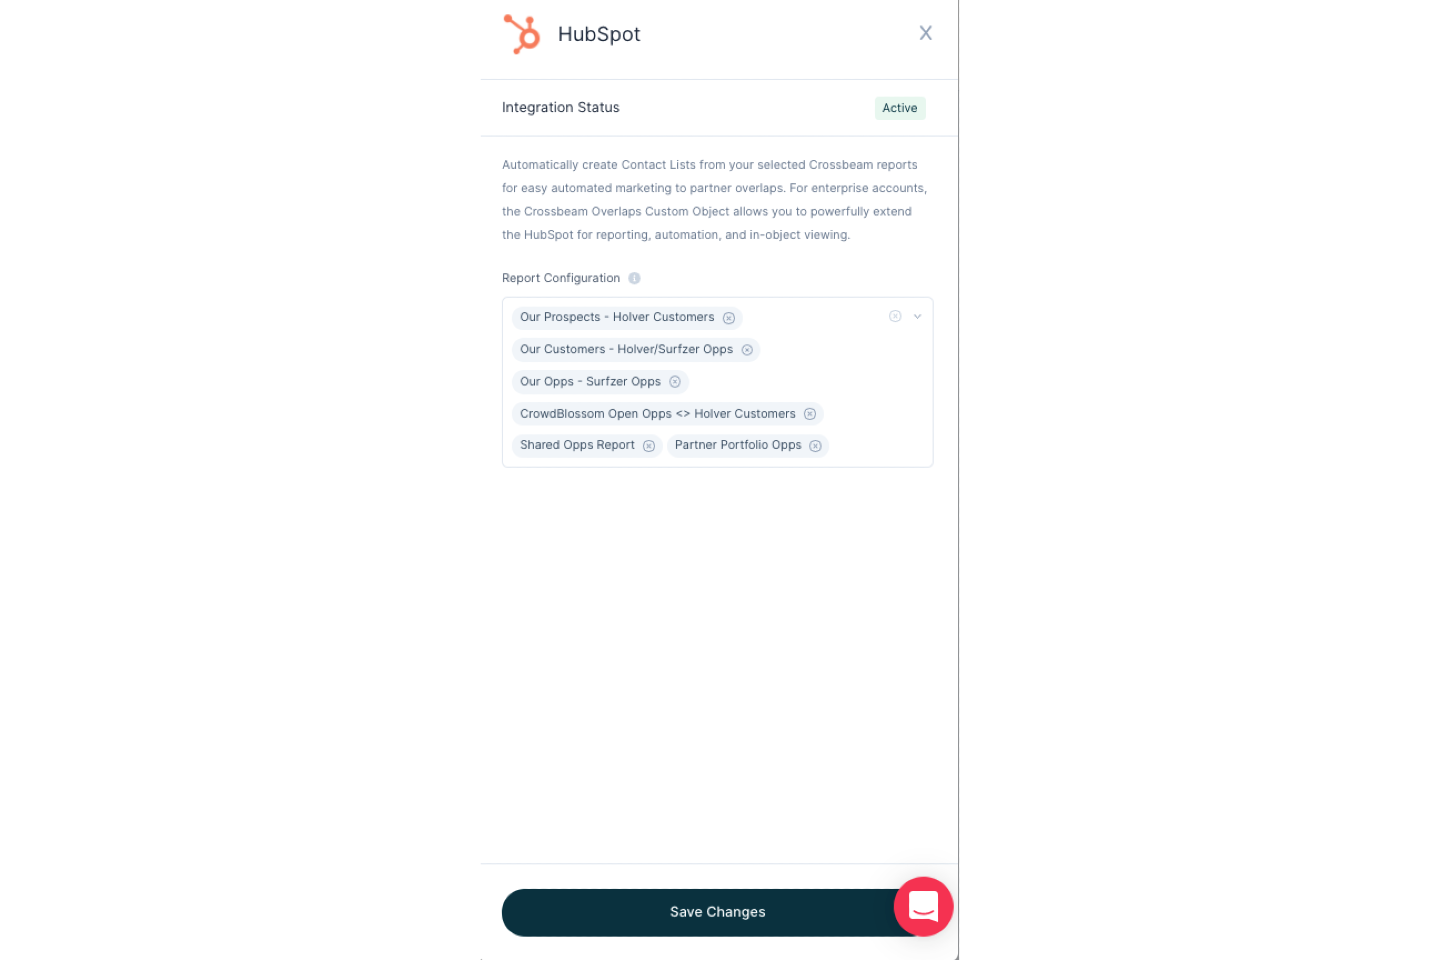
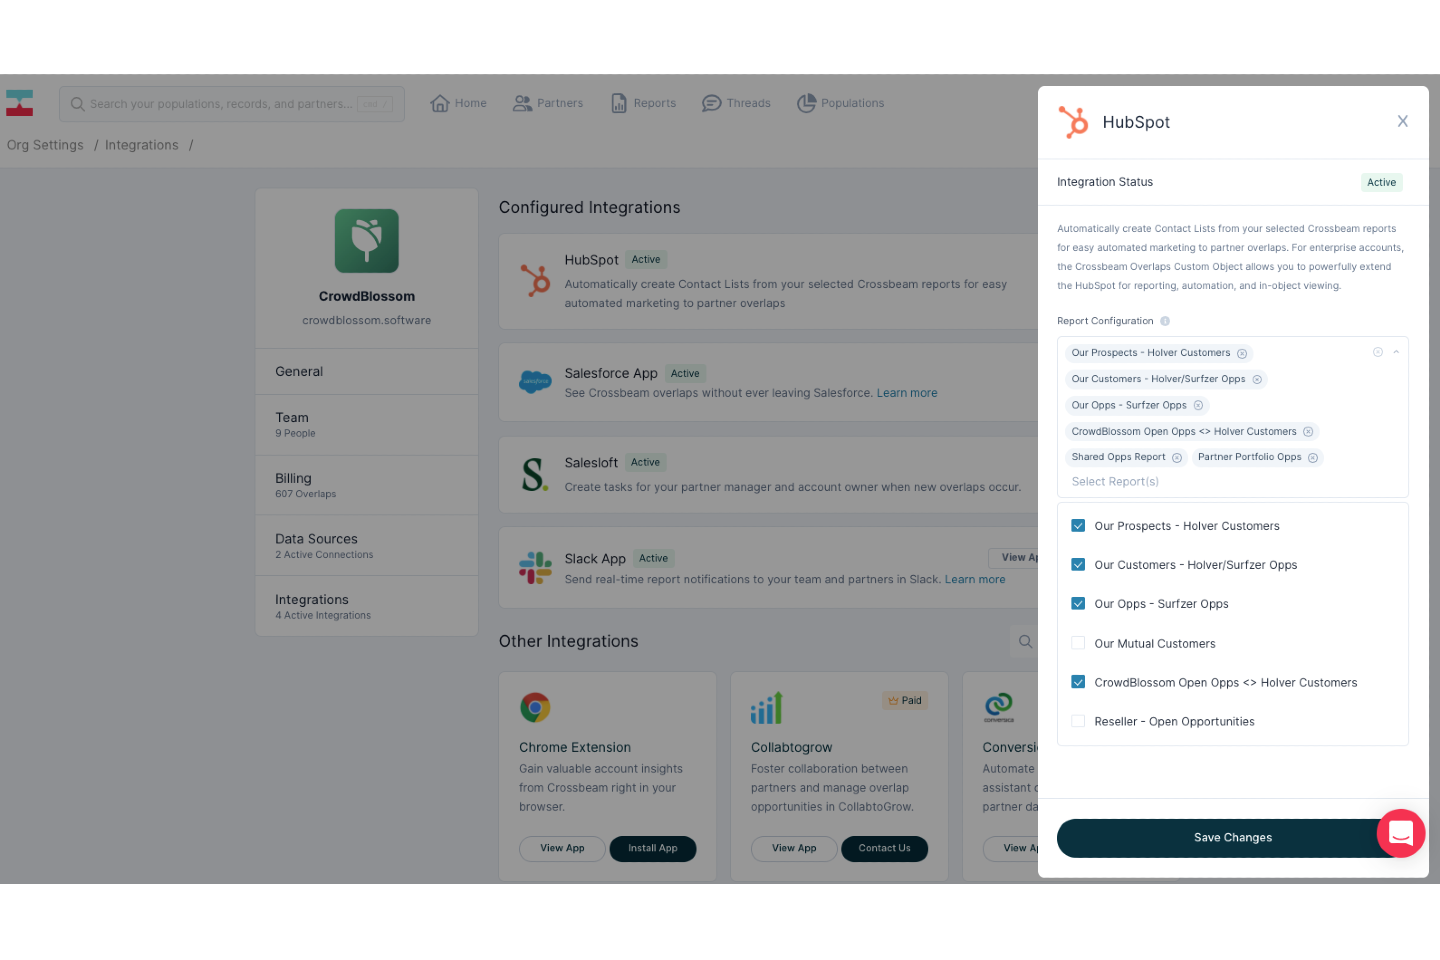
4. Once you've connected the systems, select your Crossbeam reports you'd like to use as the foundation for list creation in HubSpot.
5. Upon selecting your reports, new overlaps and associated overlap data will automatically push into HubSpot and will be saved as corresponding lists. Contact lists will appear in HubSpot with the same naming convention as your reports in Crossbeam.
- Account ID
- Crossbeam EID
- Lead ID
- Partner
- Partner AE Name
- Partner AE EMail
- Partner AE Phone
- Partner Population
- Population (Name of population)


